
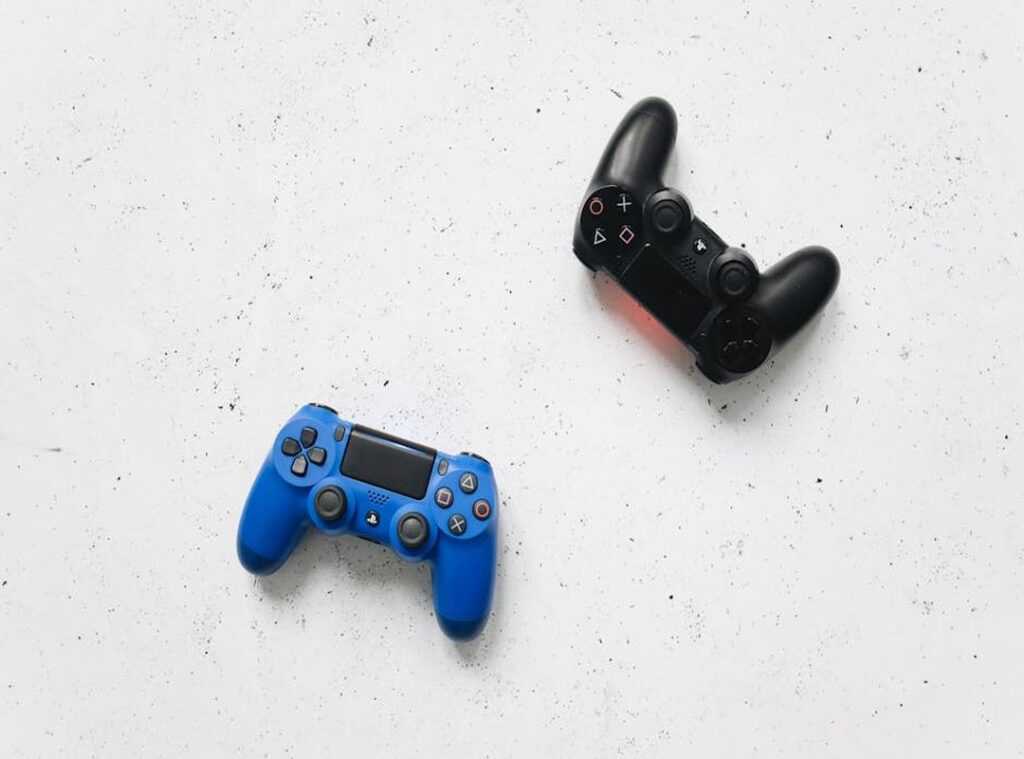
Ever felt the panic when your ‘A’ button sticks during a big game moment? We’ve all been there. It’s frustrating, right?
I’m here to get straight to it: this article is your ultimate guide to cleaning video game controllers. Over the years, I’ve taken apart countless controllers from PlayStation, Xbox, Switch, and PC, discovering what really works (and what doesn’t). Some methods can do more harm than good.
I’m going to share everything with you. A straightforward, step-by-step process. Forget guessing.
You’ll learn to properly clean from a surface wipe to a full deep-clean. Your controllers will feel like new, and they’ll last longer.
You can trust this guide. It’s built on hands-on experience. Let’s improve that gaming session together.
The Invisible Threat: Why Gamers Must Clean Controllers
Ever felt the frustration of a sticky button mid-game? Cleaning game controllers isn’t just a chore; it’s important maintenance for precision hardware. Think about the performance issues grime causes.
Dust and skin oils? They make buttons sticky, reduce trigger responsiveness, and even mess with analog stick sensors. It’s like driving a car with a dirty windshield.
Annoying and entirely preventable.
And let’s not forget hygiene. Shared controllers are a hotbed for germs (especially in a pandemic world). Regular cleaning keeps things sanitary without veering into fear-mongering.
But here’s the kicker: proper cleaning extends your controller’s life. Sweat and oils can degrade plastic, and internal gunk can really gum up the works. Want your controller to outlast your current game obsession?
Clean it! It’s a no-brainer.
Pro tip: Use a microfiber cloth, and a little isopropyl alcohol for stubborn spots. Oh, and if you’re dealing with battery issues, check out these battery replacement tips for wireless gamepads. Keeping your gear in top shape isn’t just smart (it’s) important for peak gaming performance.
So, are you ready to treat your controller like the precision tool it is?
Your Important Cleaning Toolkit: Only What You Really Need
When it comes to cleaning game controllers, keep it simple. You don’t need a mountain of supplies cluttering your space. Here’s my no-nonsense toolkit.
First, the basics for a quick clean. High-concentration isopropyl alcohol (70%+), microfiber cloths, cotton swabs, and either a toothpick or plastic spudger to tackle those pesky crevices. These essentials will handle most grime you encounter.
Now, for a deep clean, add a bit more. You’ll need compressed air and a set of plastic prying tools. Also, grab small screwdrivers (like Torx for Xbox).
But check what’s needed for your specific controller before diving in. It’s a game changer when you really want to dig in.
But what should you avoid? Don’t even think about using harsh chemicals like bleach or acetone. Your controllers will thank you.
Also, skip paper towels (they shed lint everywhere) and avoid excessive moisture. Electronics don’t get along with water. Trust me on this one.
If you’re itching for more detailed guidance, cleaning game controllers can offer extra tips. Just remember, less is more with your cleaning supplies. Keep it simple, and your controllers will shine without the extra fuss.
Pro tip: Stick to these basics, and you’ll save time while keeping your gear in top shape.
The 5-Minute Refresh: Game Changer for Controller Cleaning
Cleaning game controllers can feel like a chore, right? But hold on, it’s simpler than it seems. We all need that weekly maintenance routine.

First things first, unplug the controller or remove the batteries. This isn’t just a safety tip; it’s about not frying your beloved gadget.
Step 1: The Dry Wipe. Grab a dry microfiber cloth. It’s your best friend here.
Swipe away surface dust and debris. You might think, “Is this really necessary?” Yes, it is. It’s the foundation of a clean setup.
Step 2: The Damp Wipe. Lightly dampen your cloth with isopropyl alcohol. Remember, damp, not wet.
This step keeps the shell, buttons, and triggers pristine. It’s quick but effective. Trust me.
Step 3: Detail Work. Now, for the nooks and crannies. Use a Q-tip dipped in alcohol.
Focus on the base of the analog sticks and controller seams. It’s where the grime loves to hide.
Step 4: Crevice Cleaning. Here’s where the toothpick comes in. Gently scrape out any gunk from the seams.
Wipe the tip often. It’s oddly satisfying, like popping bubble wrap.
This routine is your go-to for keeping things fresh without much hassle. It’s like a quick shower for your controller. Want some in-depth tips on controller care?
Check out this guide.
Pro tip: Keep your tools handy. You’re more likely to clean if everything’s within reach. Let’s face it, laziness is our default mode, and convenience wins every time.
The Deep Dive: Safely Disassemble and Restore Your Controller
Let’s get one thing straight. If you’re not comfortable with potentially voiding your warranty, maybe this isn’t for you. But if you’re still with me, let’s talk about cleaning game controllers.
The right way. First off, disclaimer time: this is for those who know their way around a screwdriver.
Opening the Shell
Alright, here’s the deal. Most controllers hide screws like they’re treasure. You’ll need the right screwdriver (don’t guess) and a plastic prying tool.
Metal tools scratch, and scratches suck. Check under stickers and in battery compartments. There’s always a sneaky screw.
Trust me, I’ve been there.
Cleaning the Components
Pop open that shell and you’ll see all the gunk you’ve been mashing into those buttons. Carefully remove the button membranes, buttons, and D-pad. These parts love a good bath in warm, soapy water.
But don’t get lazy. Dry them thoroughly. Water and electronics get along like cats and dogs.
The Circuit Board (PCB)
Now, this is the heart of your controller. Be gentle. Use a soft brush or some compressed air to dust it off.
If you spot sticky residue on contact pads, grab a Q-tip and dab it in a tiny amount of isopropyl alcohol. Don’t soak it. Let it evaporate completely before you do anything else.
You don’t want to fry your board.
Reassembly
Putting it back together is where the magic happens. Make sure wires aren’t getting pinched. Replace every screw, but don’t over-tighten.
That can strip the threads and ruin your day. Keep track of where everything goes. A misplaced button can mean game over.
Does this sound like a lot? Sure, but it’s worth it. A clean controller feels better, responds better, and might even make you a better player (okay, maybe that’s pushing it).
If you want to dive deeper into the world of gaming tech, check out more takeaways. Remember, patience is key here. Take it slow and keep your workspace tidy.
You’ll thank yourself later.
Ready to Dominate Your Game Again?
So, here you are, ready to tackle cleaning game controllers head-on. I get it. You’re pumped to transform that sluggish, grimy controller into a slick, responsive machine.
The benefits are obvious: sharper gameplay, better hygiene, and extended lifespan. Why risk a game over because of a dirty controller? You’ve got the tools and know-how.
Give that 5-minute refresh a shot this week. See the difference yourself. For more tips on keeping your gear in top shape, dive into our other articles.
Keep your gaming edge sharp. Don’t wait. Clean now and play better.
Ready? Go for it.
 Adam R. has opinions about hss peripheral compatibility insights. Informed ones, backed by real experience — but opinions nonetheless, and they doesn't try to disguise them as neutral observation. They thinks a lot of what gets written about HSS Peripheral Compatibility Insights, Device Integration Strategies, Tech Pulse Updates is either too cautious to be useful or too confident to be credible, and they's work tends to sit deliberately in the space between those two failure modes.
Reading Adam's pieces, you get the sense of someone who has thought about this stuff seriously and arrived at actual conclusions — not just collected a range of perspectives and declined to pick one. That can be uncomfortable when they lands on something you disagree with. It's also why the writing is worth engaging with. Adam isn't interested in telling people what they want to hear. They is interested in telling them what they actually thinks, with enough reasoning behind it that you can push back if you want to. That kind of intellectual honesty is rarer than it should be.
What Adam is best at is the moment when a familiar topic reveals something unexpected — when the conventional wisdom turns out to be slightly off, or when a small shift in framing changes everything. They finds those moments consistently, which is why they's work tends to generate real discussion rather than just passive agreement.
Adam R. has opinions about hss peripheral compatibility insights. Informed ones, backed by real experience — but opinions nonetheless, and they doesn't try to disguise them as neutral observation. They thinks a lot of what gets written about HSS Peripheral Compatibility Insights, Device Integration Strategies, Tech Pulse Updates is either too cautious to be useful or too confident to be credible, and they's work tends to sit deliberately in the space between those two failure modes.
Reading Adam's pieces, you get the sense of someone who has thought about this stuff seriously and arrived at actual conclusions — not just collected a range of perspectives and declined to pick one. That can be uncomfortable when they lands on something you disagree with. It's also why the writing is worth engaging with. Adam isn't interested in telling people what they want to hear. They is interested in telling them what they actually thinks, with enough reasoning behind it that you can push back if you want to. That kind of intellectual honesty is rarer than it should be.
What Adam is best at is the moment when a familiar topic reveals something unexpected — when the conventional wisdom turns out to be slightly off, or when a small shift in framing changes everything. They finds those moments consistently, which is why they's work tends to generate real discussion rather than just passive agreement.